In 2016, I decided to sketch every day for an entire year. And I did that! It was a big challenge to stick to but I did it! Since then, I've kept at my art in one way or another. It's been tricky between working full time and Being An Adult but I'm so glad I have a hobby that's all my own.


For my birthday this year, I asked for contributions towards a monthly drawing and watercolour class called 'Fur and Feathers' at the Royal Botanic Gardens of Edinburgh. I've done one or two classes before and had some very mixed results with them but I was excited to try this one because (as I'm sure is apparent by the number of zoo posts I've done over the years) I love animals. I have very little experience with painting at all but, I thought to myself, my love of animals will trump this!


So it turns out the drawing part was pretty straightforward, albeit more technical than I was used to; there was a lot of measuring using compasses and rulers and double checking references using a light box. As I have more of an affinity to illustration, this was a nice challenge to slow down and study the reference properly - a wild rabbit.


The less nice challenge was when we started to paint! What a remarkable learning curve. I'm grateful that I already had experience with the initial learning curve with drawing as that is what got me through the learning curve with this rabbit painting!


Each class, we'd observe the tutor do an expert replication with exact precision of a particular part of the rabbit. Then we'd go off to do the same (with varying results).


Fine details are what got me the most, requiring the precision of defusing a bomb except using a medium that in its nature is fluid and unpredictable.


But as they say, practice makes perfect. Having had time away from this bunny, I can safely say I don't hate it as much as when I shoved it into my bag once I decided I was finished with it! You can definitely tell it's a rabbit!


In December, we had a mini prompt in the form of this lil mouse.


I'm at the frustrating stage with any new art skill where I can now see the differences between my piece and an expert piece but don't have the skill level to do much about it!


Which means practice, practice, practice!


My course runs all the way to June so there's lots of time to improve still. In between classes I'll be trying my hand at more watercolours (like Cleadon Hills below that I painted for my mum for Christmas) so watch this space, I guess! Here's hoping that by the time June comes around I'll have come on leaps and bounds!




Continuing with The Year of Creativity, I decided to try my hand at paper flowers - or roses to be more specific!


This project is one of those I had put on the backburner for a rainy day. With it being the long weekend over Easter, I found myself with some spare time and although it is decidedly the opposite of a rainy day today (20C and sunny, yes please!) I got cracking.


I had most of what I needed lying around already but these flowers do call for a hot glue gun and crepe paper. Crepe paper is regular tissue paper that's been coated with sizing (a kind of glue) so it holds its form if you crease it. It's also a bit more durable than regular tissue paper which I needed as the paper would be getting wet. It's not that rare but did require a trip to Hobbycraft (which unfortunately for me is two bus journeys away - boo).


When I had returned home victorious and got started, it turns out a little crepe paper goes a long way. I bought three packs of white paper and I only used half of one for this trial attempt. At least I'm stocked up now for future flowers!


To begin, I cut out petals from the paper. I tried to keep things vaguely realistic by making the folds of the paper go vertical up the petals. Then I mixed some acrylic paint together. You don't need to use any special colours for this - just a decent amount of white, and a small amount of of red and yellow. Although the petals dry lighter, colour (especially red) goes a long way when added to white.


Placing a petal over a jar/unimportant pot/scrap paper, I misted them until they were damp (here you'll learn how thick your paper is, go easy on the water until you've got an understanding of what you're dealing with!). Gently begin adding colour to your petals!


Let them dry and peel them off their surfaces. I've seen some people speed up the process by putting the dish in the microwave for for 15-30 second bursts but as it's a long weekend and sunny(!), I wasn't in a particular rush.


I nipped out into the garden and uh, relieved a hebe bush of a burdensome twig. In future I'll be on the lookout for larger, fallen branches as it will allow for larger flowers. I hot glued the petals together, beginning with a curled petal and working out. The buds were similar only scrunched up smaller.


And here is the finished flower! I'm really happy with this as my first attempt and it's lovely in my flat. Plants (both real and 'fake' like this) are slowly taking over the the flat and I am absolutely okay with it. Perhaps I'll try my hand at another species next time...


https://www.instagram.com/p/BwfFRDupflR/


So May and June have been busy. Really busy. If you follow me on Instagram, you'll have noticed a few trips back and forth to Edinburgh and that's because I've got myself a graduate job! I'm very excited to be staying in Scotland but understandably things have been a little hectic trying to get organised and "officially" move myself out from London. 

A trip to Birmingham to pick my brother up from his first year at uni almost felt like a holiday. Yes, I was buried up to my head in bags and clothes and textbooks sitting in the back seat but as a reward for managing to get the boot shut, we went to the Botanical Gardens.


Although it was cloudy and spat with rain a bit, it was still warm. We explored a good portion of the grounds, which reminded me of a scaled down Kew Gardens. There's actually a lot of horticulture packed into a comparatively small area and a nice (albeit expensive) tea room.

Plants aren't particularly a passion of mine (perhaps that will change when I have a garden of my own) but I really appreciated the herb and health garden and the historical gardens, built to reflect the styles from Roman, Medieval and Tudor times. 


The birdhouse was a pleasant surprise too! 


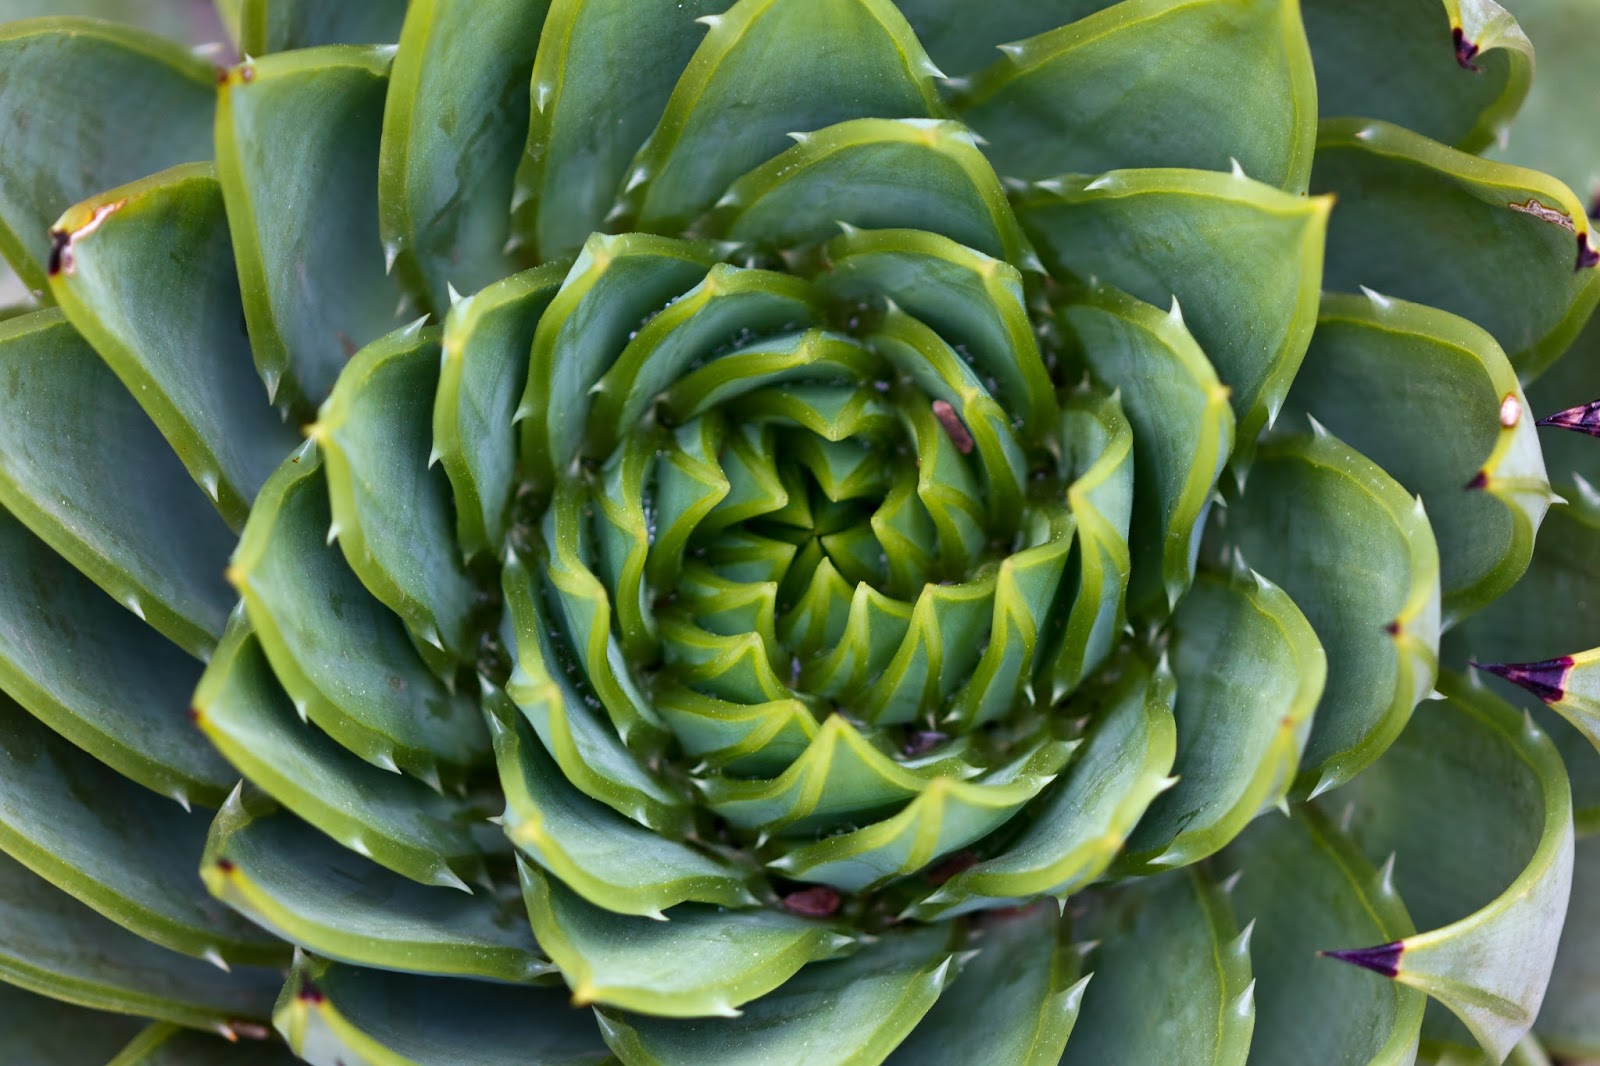
Truthfully though, this trip was an excuse to brush the dust off my macro lens and get some pretty photos of plants...


Our base for this portion of the trip was Homestead. Originally we had planned to drive and explore the Everglades National Park but after a bit of research, we found had come in the wrong season for alligators and if we ventured into the glades, all we'd see would be swarms of mosquitoes that would eat us alive.